
SQL server installation
The software needs a Microsoft SQL Server for storing data. All versions from 2008 R2 or newer are supported, including SQL Azure. You can use an existing database server, but the user you are logging in needs to have admin privileges on the database server to create the necessary databases and tables.The software uses two databases.
| colorWorkbench | colorLAB | |
|---|---|---|
| Measurements database |
|
|
| Shared database |
| |
If you are using only one system or do not plan to share settings, you can use a single database. To do so, set the connection for both, the measurements and shared database to the same.
If you are using multiple systems and want to access them from multiVIEW, you will need a different database for the shared settings.
For example, if you are using 3 installations of colorWorkbench and want to access them from another computer to see the measurements, you will actually need 4 databases: 3 measurements databases and one shared database.
Do NOT use the same measurements database for different lines! Only the shared database is intended to be used by multiple lines!
You can install the SQL Server by your own or let the colorWorkbench/colorLAB installer do this for you.
If colorWorkbench/colorLAB installed the SQL Server for you, everything is set up as needed. If you choose to install it by hand, see below:
Manual SQL server installation
The installation is described for the SQL Server 2014 Express SP2 Edition which can be downloaded here:https://www.microsoft.com/en-us/download/details.aspx?id=53167
Double-Click on the installation icon.
The installer asks where to extract the files. You can leave the default path or change it:
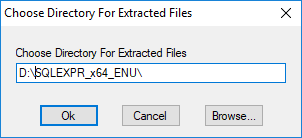
After clicking OK extraction starts:

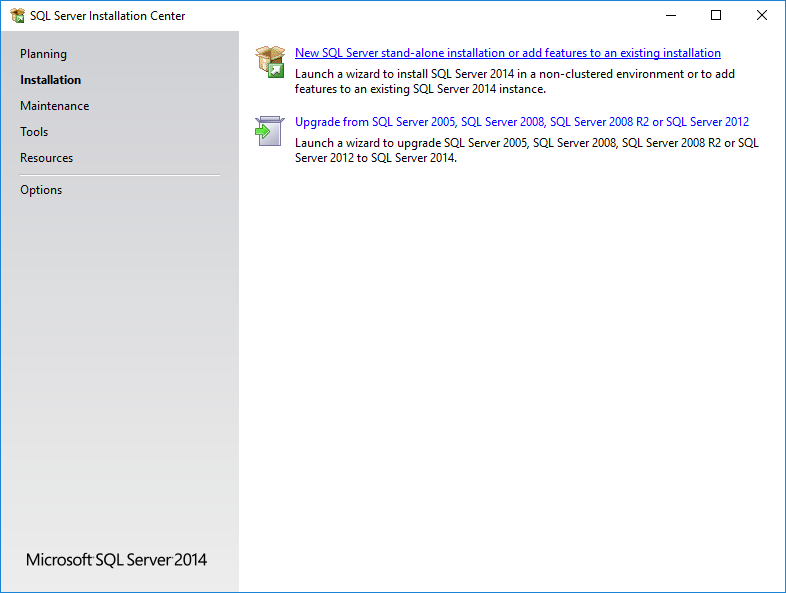
The SQL Server Instalaltion Center will appear after extraction. Select New SQL Server stand-alone or add features to an existing installation:
Accept the license terms and click Next:

At the Feature selection page just click Next:

At Instance Configuration page click Next, unless there is already an instance with the default name SQLEXPRESS on the computer. You will have to change the instance name to something different then:

At Server Configuration page click Next:

At Database Engine Configuration page, set the Authentication Mode to Mixed mode and provide a password for the sa user. Then click Next:

Now the installation starts. Wait until it is finished:
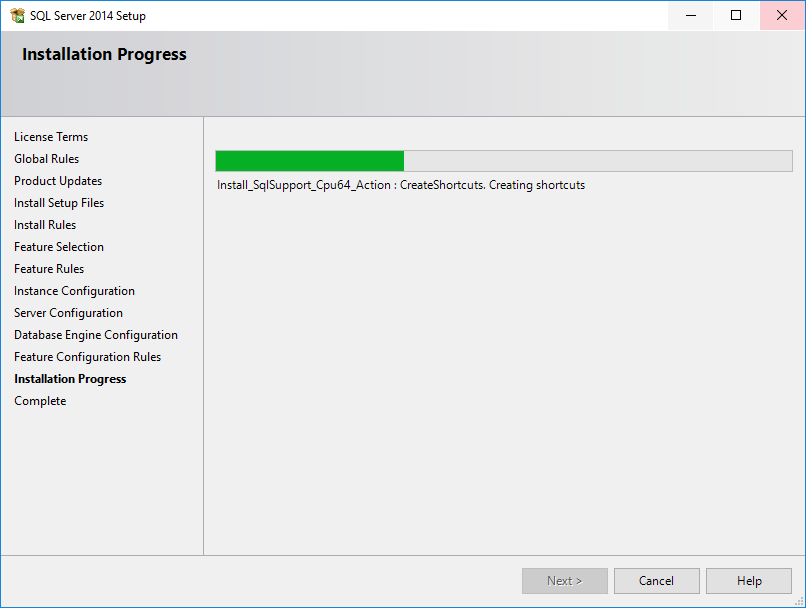
If everything went fine, all entries should display Status Succeded:

If there are any errors during the installation, please install all available Windows updates and retry the installation. In any case of errors, it can also be helpful to disable any third-party anti-virus software.


0 Kommentare:
Kommentar veröffentlichen
Hinweis: Nur ein Mitglied dieses Blogs kann Kommentare posten.